


Are you ready to upgrade your home with the latest technology? Our smart ceiling fan is here to make your life easier and more comfortable. With just a couple of simple steps, you can easily install this innovative and stylish fan in no time. Say goodbye to complicated installation processes and long manuals, as we've simplified the process to make it user-friendly and straightforward. Whether you're a DIY enthusiast or a first-time installer, our step-by-step guide will take you through the entire installation process of the Aspen 52 smart ceiling fan. So, let's get started and experience the convenience of smart home technology with our easy-to-install smart ceiling fan.
-
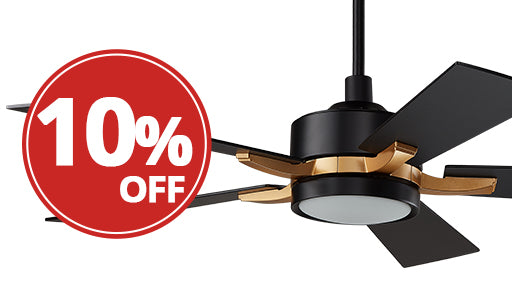
Tighten the Fan Blades to the Motor Hub with Screws


-
Screw the light kit pan tight, plug the light kit and attach downrod
- screw the light kit and plug the pin wires.

- install the lampshade

- Connect the wiring harness from the downrod to the receptacle from the motor wire.
- After connection, tuck in neatly the wire into the downrod.

- Screw up the cable with motor shaft.

-
Hang the Fan
- Hang the installed ceiling fan on the mounting bracket.
- All the wires will need to be bound together with electrical tape for added stability.
- Put the adapter inside the bracket and connect the DC output wire with the wire from the motor through the downrod.


