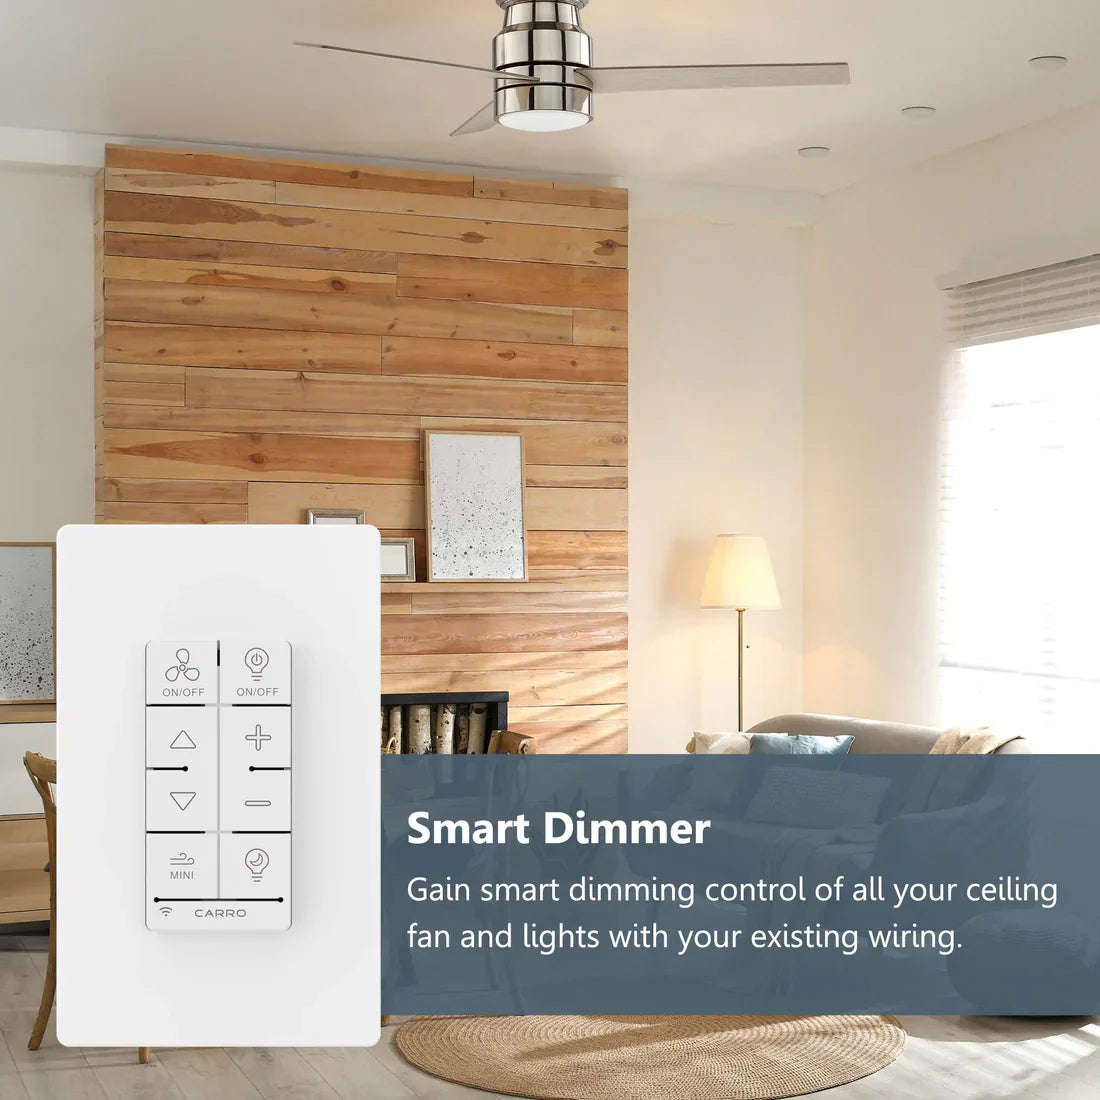
Ready to install your new Smafan Smart Wall Switch? You're going to love the added convenience that the smart fan control and light dimmer deliver. This guide will walk you through the installation process, from start to finish, so you can begin enjoying your purchase in no time!

1: Cut the Power
WARNING: SHOCK HAZARD
Before you begin, you must shut off the power at the circuit breaker to prevent
severe injury or death.
Find out where the electricity panel is and then switch off the breaker for the fan and light circuit (or turn off the power), to shut off the electricity to the device. It is advisable to seek the services of a professional electrician if you are unfamiliar with or uneasy about performing this installation.
2: Remove Your Old Light Switch
- Remove your old light switch by unscrewing it from the wall.
- Gently pull the wall switch to expose the wiring.
- Disconnect the wiring (you may need to loosen the screws on the switch where the wiring is wrapped).
3: Wiring Your Smafan Smart Switch
Note:
- You will need 5 wires to successfully install this smart switch: a live wire, a neutral wire, a ground wire, and 2 separate load wires for the fan and light.
- Take your Smafan Smart Switch and connect the wiring with the correct colors as shown in the illustration

4: Secure Your Smart Switch to the Wall
- Mount the device and attach it using the screws provided.
- Snap on the wall plate.
5: Turn the Power Back On
- You have successfully installed the Smart Switch! Turn the circuit breaker back on and test the switch functions.
Set Up Smafan Smart Wall Switch
Now that you've successfully installed your smart wall switch, let's get you connected to your home's Wi-Fi and smart devices, so you can access advanced control and smart features such as voice control, scheduling, and timers.
Note: During setup, your home's Wi-Fi must be set to the 2.4Ghz frequency ONLY. After you've successfully connected the device, you can switch back to 5Ghz or remain on 2.4GHhz.
Step 1: Use the QR code below to download the free Carro Home App.

Step 2: Open the Carro Home App and register your account using an e-mail or phone number.
Step 3: Connect the Smafan Smart Wall Switch to the Carro Home App using 1 of the 4 ways listed below:
1. Bluetooth Connection (Wi-Fi & Bluetooth ON)
- Press the “+” button on the device list page. A window should pop up showing a list of available devices that can be connected.
- Click the “Go to add” button (If you click “Do not add” by mistake, please refer to the “Do not add” steps below).
- Select the device.
- Connect to your home Wi-Fi, then return to the app and wait for the connection to complete.
“Do not add” Steps
- Select “Electrical” (Smart Switch) on the sidebar menu.
- Select “Ceiling Fan Switch” and tap next.
- Connect to your home Wi-Fi, then return to the app and wait for the connection to complete.
2. Auto Scan (Wi-Fi & Bluetooth ON)
- Press the “+” button on the device list page.
- Tap “Auto Scan” at the top.
- Once the device appears, click “Next”.
- Press the “+” button to add the device.
- Connect to your home Wi-Fi, then return to the app and wait for the connection to complete.
3. Wi-Fi Connect – Default EZ Mode (Wi-Fi ON & Bluetooth OFF)
- Press the “+” button and select “Electrical” (Smart Switch) on the sidebar menu.
- Select “Ceiling Fan Switch” and tap next.
- Connect to your home Wi-Fi (Only the 2.4Ghz frequency).
- Tap the “Next” button and wait for the connection to complete.
4. Wi-Fi Connect – AP Mode (Wi-Fi ON & Bluetooth OFF)
- To enter AP mode, press and hold the “CARRO” button on the Smart Switch for 5 seconds until the indicator light begins blinking.
- Press the “+” button and select “Electrical” (Smart Switch) on the sidebar menu.
- Select “Ceiling Fan Switch” and tap next.
- Connect to your home Wi-Fi (2.4Ghz only).
- Select AP mode.
- Press the “Next” button to connect to the fan's Wi-Fi signal.
- Choose the fan's Wi-Fi signal “CarroHome-XXXX” and go back to the app.
- Wait for the connection to complete.
Step 4: Connect to Existing Smart Devices
Before connecting to existing smart devices, test different functions to make sure the smart app control is working properly.
- Connecting to Alexa
- Open the Alexa App and search the Carro Home Skill.
- Link the skill and log in using your Carro Home account information.
- Authorize and connect to the Carro Home App.
- Alexa will automatically find the device.
- Connecting to Google Assistant
- Open the Google Home App and select “Works with Google”.
- Search for Carro Home and log in using your Carro Home account information.
- Authorize and connect to the Carro Home App.
- Google Assistant will automatically find the device.
- Connecting to Siri Shortcuts
- On the main menu, tap the “Smart” button.
- Tap the “+” button.
- Tap “launch Tap to Run”.
- Tap “Run the Device”.
- Select the Smart Switch.
- Select the function you want to control by Siri.
- Tap “Save”.
- Select the scene you just created and tap “Add to Siri”.
- Enter the voice command you'd like to use and tap “Add to Siri”.
You may check out our FAQ page for answers to any other questions you may have about the smart fan and light switch. Please view our Smart WIFI Wall Switch Collection for more options.


